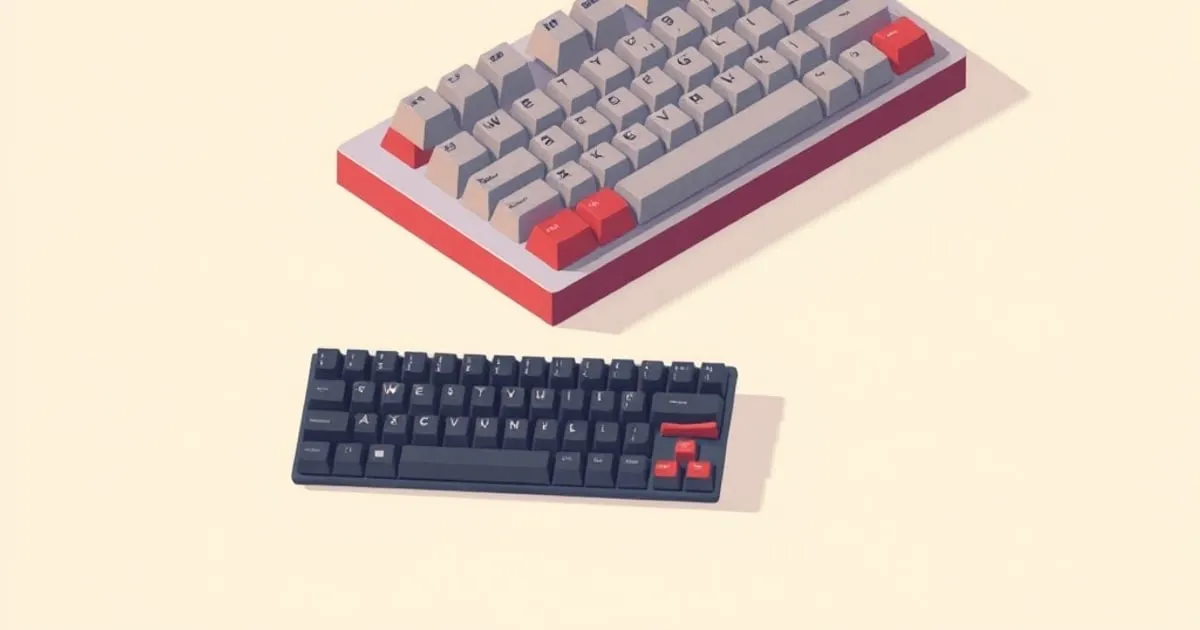
How to Choose Your First Mechanical Keyboard the Smart Way
A framework for buying your first mechanical keyboard: the four decisions that matter, why hot-swap is non-negotiable, and which upgrades pay off.
Most first mechanical keyboard purchases go one of two ways: someone spends too little on a board they outgrow in a month, or they spend too much on an enthusiast build whose tradeoffs they don’t yet understand. This guide is the framework for avoiding both.
There are exactly four decisions that matter for a first board. Everything else is refinement you can do later — or never.
Decision 1: Layout
This is the decision you live with on every keystroke, so make it first. We cover the full taxonomy in the keyboard layouts guide, but the short version for a first board:
- You use a numpad daily (finance, data entry): full-size (100%).
- General desktop, office, programming, gaming: TKL. This is the safe default for most people and the one to pick if you’re unsure.
- You want compact but aren’t ready to give up keys: 75%.
Do not make your first board a 60% or 40%. Layered arrows and numbers require muscle-memory adjustment that’s frustrating before you’ve even formed an opinion on switches. Start with at least dedicated arrows.
Decision 2: Switch family
Pick a family, not a specific switch — the switch types guide goes deep, but for a first board:
- Linear (smooth, no bump): the most-used family, good for both typing and gaming. The safe default.
- Tactile (a bump you feel): good if you want physical feedback at the actuation point. A reasonable first choice for typists.
- Clicky (audible click): only if you specifically want the sound and don’t share a room. Not a safe blind pick.
If you have no idea, get linears or mild tactiles. You can refine later — but only if you make Decision 3 correctly. To turn a description of the feel you want into specific switches with their specs, the Switch Finder by Feel does the narrowing for you.
One family to set aside for now: magnetic, or Hall effect, switches. They are excellent for competitive gaming and they lock you into a separate ecosystem of boards and switches, which is the wrong trade on a first purchase. Hall effect switches vs mechanical has the full comparison if a shop is pushing one at you.
Decision 3: Hot-swap, always (for a first board)
This is the single most important decision for a beginner, and the one most often gotten wrong.
A hot-swap keyboard has sockets you can pull switches out of and push new ones into, with zero soldering. A soldered keyboard fixes the switches permanently.
For a first board, buy hot-swap, no exceptions. You do not yet know what switch you like. With hot-swap, discovering you chose wrong costs the price of new switches and five minutes with a switch puller. With soldered, it costs a new keyboard or a soldering iron and an afternoon.
The small price premium for hot-swap is the cheapest insurance in the hobby. Skipping it to save money is the most common expensive beginner mistake.
Decision 4: Prebuilt vs kit
Three paths to owning a board:
Prebuilt enthusiast board (hot-swap): ships assembled, often with decent stock switches and keycaps, ready to type on out of the box. You can later swap switches and caps as you learn what you like. This is the right path for almost every beginner. It gets you typing immediately and still leaves every upgrade open.
Barebones kit + switches + keycaps bought separately: you assemble it (no soldering on a hot-swap kit — just snap switches in, install stabilizers, put caps on). More choice, slightly more work, marginally cheaper per-component. Reasonable for a second board or a methodical beginner who enjoys the build.
Full custom (PCB, plate, case, stabilizers, soldering): not a first board. Skip entirely until you know your preferences.
A prebuilt hot-swap board gets you 90% of the enthusiast experience with 10% of the decisions. Start there.
The upgrade traps that drain money
Once you have a board, the hobby will try to sell you upgrades. Most of them are not worth it for a beginner. In rough order of actual value:
Worth it:
- Better keycaps (PBT, doubleshot/dye-sub). The single highest-impact upgrade for sound, feel, and durability. See the keycaps guide. If you do one upgrade, do this.
- Switch swap (the entire reason you bought hot-swap). Cheap, reversible, the core of finding your preference.
- Lubed/tuned stabilizers. Rattly spacebar and modifiers are the most common complaint about stock boards. Tuning stabs is high-impact and costs almost nothing but time.
Marginal:
- Case foam / tape mod. Real but small acoustic change. Cheap, fine to try, not transformative.
- Switch films. Reduce housing wobble. A small refinement, not something a beginner will notice.
Skip until you have an informed reason:
- Hand-lubing every switch. A 2–4 hour project per board for a small improvement. Buy pre-lubed switches instead.
- Premium artisan keycaps, exotic cases, group buys. These are hobby expenditure, not improvements to typing.
The pattern: the cheap, reversible changes (switches, keycaps, stabs) deliver almost all the gain. The expensive, irreversible, or labor-intensive ones deliver diminishing returns. Beginners systematically over-invest in the second category.
A sane first-board path
- Pick a TKL or 75% hot-swap prebuilt with linears or mild tactiles. Type on it for at least two weeks before forming opinions.
- If the spacebar/modifiers rattle, tune the stabilizers. Highest-impact fix for the most common complaint.
- If switches feel wrong, swap them — that’s what hot-swap is for. Use a switch tester first if possible.
- If it sounds thin or hollow, upgrade to thick PBT keycaps. Biggest single sound/feel improvement available.
- Stop there until you have a specific, identified want. “It would be cool to mod it” is not a specific want.
The enthusiasts who are happiest with their keyboards aren’t the ones who spent the most. They’re the ones who made the four decisions deliberately, made the cheap reversible upgrades, and ignored the rest. Start with layout and switches, and browse the full topic index when a real question comes up.
FAQ
What layout should a first mechanical keyboard use?
For a first mechanical keyboard, TKL is the safe default for general desktop, office, programming and gaming use, while 75% suits anyone who wants something compact without giving up many keys. Full-size makes sense only for daily numpad work such as finance or data entry. Avoid 60% and 40% layouts on a first board, because layered arrows and numbers demand muscle-memory adjustment before you have formed any real preferences.
Which switch family should a beginner pick?
Beginners should choose a switch family rather than a specific switch. Linear switches are smooth with no bump and are the safe default for both typing and gaming. Tactile switches provide a bump you feel at the actuation point and suit typists who want physical feedback. Clicky switches are audible and only make sense for someone who wants the sound and does not share a room.
Is a hot-swap keyboard worth it for a beginner?
A hot-swap mechanical keyboard has sockets that let switches be pulled out and replaced with no soldering, and for a first board it is the single most important decision. A beginner does not yet know which switch they prefer, so choosing wrong on a hot-swap board costs only the price of new switches and a few minutes with a switch puller, rather than a whole new keyboard.
Should a first mechanical keyboard be a prebuilt or a kit?
A prebuilt enthusiast hot-swap board is the right path for almost every beginner: it ships assembled with usable stock switches and keycaps, so typing starts immediately while every later upgrade stays open. A barebones kit with separately bought switches and keycaps is reasonable for a second board or a methodical builder who enjoys assembly. A full custom build with soldering is not a first board at all.
Which specific boards fit these criteria?
Rather than memorising model names, filter any candidate on four facts from its spec sheet: a TKL or 75% layout, hot-swap sockets rather than a soldered PCB, screw-in or at least factory-lubed stabilizers, and PBT keycaps rather than ABS. A board that satisfies all four is a safe first purchase regardless of brand, because every remaining variable on it is reversible. Named picks applying this filter are in best mechanical keyboard for beginners and, for firmware-programmable boards aimed at long typing sessions, best mechanical keyboard for programming; gasket vs top vs tray mount covers the case-construction question if it reaches your shortlist.
Which mechanical keyboard upgrades are actually worth the money?
The upgrades worth doing on a mechanical keyboard are the cheap, reversible ones: better PBT doubleshot or dye-sub keycaps, a switch swap, and lubed or tuned stabilizers. Case foam and switch films are marginal. Hand-lubing every switch and buying artisan keycaps, exotic cases or group buys are hobby expenditure rather than typing improvements, and beginners systematically over-invest in that second category.
Related across the network
- Prebuilt vs Custom Mechanical Keyboard: Which Path? — kbdcompare.com
Sources
Related

Build Your First Custom Mechanical Keyboard
A start-to-finish guide to assembling your first hot-swap custom keyboard: parts list, correct assembly order, and the mistakes that ruin a build.

Best Mechanical Keyboard for Beginners 2026: Honest Picks
The best mechanical keyboard for beginners does not need to cost $150. A no-fluff decision tree covering hotswap, switches, and size by budget tier.

Best Lube for Keyboard Switches: Krytox vs TriboSys
The best lube for keyboard switches depends on grade, not brand: Krytox 205g0 for linears, TriboSys 3203 for tactiles, and 105g0 oil for springs.